Parking lots are a large investment for most businesses. They require a lot of time and money from both the contractor and the client. Additionally, parking lots are something that people don’t notice unless there’s something wrong. As a result, parking lots have to be nearly perfect or customers will complain about the bumpy ride. The process of parking lot paving is fairly standard; we’re here to explain so you know exactly what to expect. Read on to learn how a parking lot is paved, step-by-step.
-
Plan, Plan, Plan
As with any commercial project, parking lot paving requires immense amounts of planning. First and foremost, the contractor must acquire the permits for paving, and mark out the utilities that run under the paved area. The utilities must be marked out so that no lines are damaged during site preparation. Additionally, contractors examine the way that water moves across the site. This has to be considered to avoid water pooling in certain areas of the lot. Not only would this be inconvenient for customers, it would lead to damage on the asphalt.
After gathering all the information and the proper permits, the contractor must plan how they will complete the job. This includes selecting the tools, and designing the plan for paving that is most efficient and respectful of the budget.
-
Prepare The Area
There are two distinct ways to prepare a parking lot for paving. It depends on if the area has been paved already or not.
2a. If the area has already been paved
The current asphalt or concrete should be stripped away to the subgrade. It’s less likely that the subgrade needs to be stripped, but it’s possible that it also needs to be removed. Removing all of this will return the site to good as new condition. It will appear as though the area has never been paved.
2b. If the area hasn’t been paved
The contractor levels the site to help with water flow and paving set-up. Then, the subgrade material is laid out. This establishes a base for the asphalt to adhere to. For commercial project, it is advantageous to also have a binder layer. A binder connects the base and the asphalt over top of it into a more cohesive unit.
-
Finally…Time For The Asphalt!
After a lot of planning and preparation, the site is finally ready for the asphalt itself. The contractor must carefully follow through on the plans they made at the beginning. Typically, the asphalt must be paved a certain way to maximize efficiency and ensure that the surfaces are covered evenly.
The pouring precedes the compacting. A steamroller comes through and flattens the fresh asphalt while also sealing it with the base underneath. The compacting is important because it helps make sure that the asphalt is as air and water tight as possible.
-
The Finishing Touches
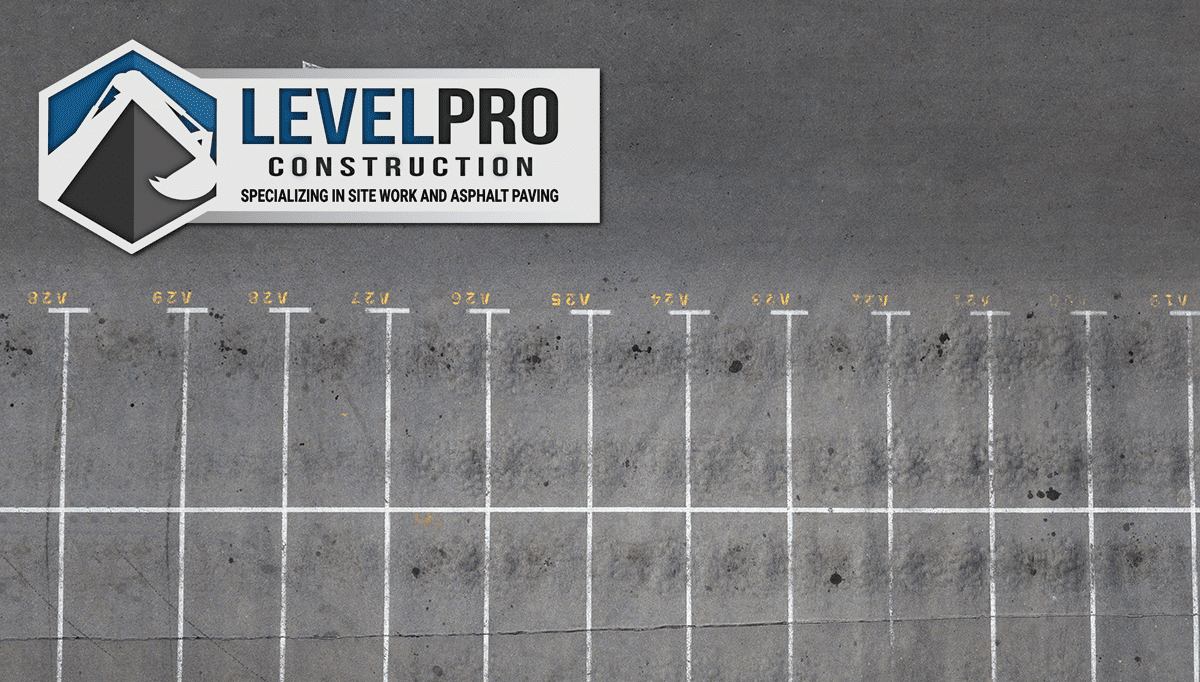
A parking lot wouldn’t be a parking lot without spaces! After the asphalt is poured and cooled, it is time to paint on the markings. The need for each business vary, but the painters often add parking spots, directional rrows, and stopping lines.